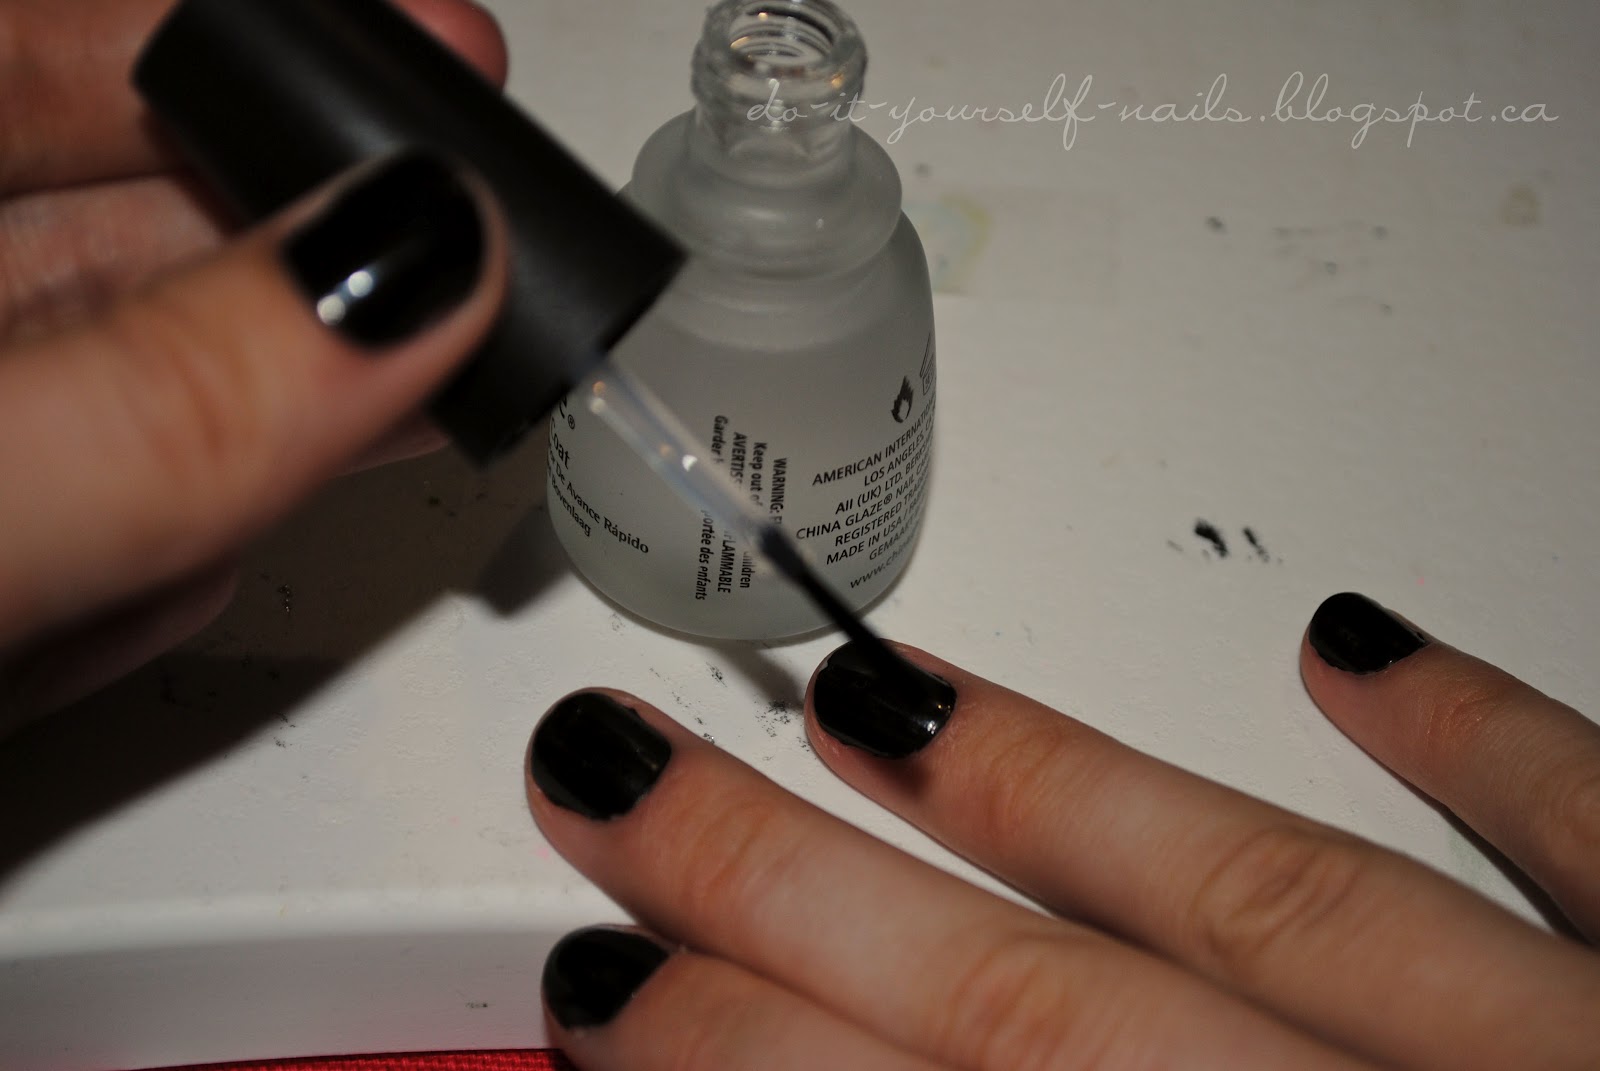
I started off with a coat of Xtreme Wear Black Out. The black background really helps to make the gems pop.

Next I added the gems. I started with only doing an accent nail. It was my inspiration for the rest of my nails. To add the gems you're going to need a top coat, and an orange wood stick. I find that China Glaze top coat works really well for this because it's a thinner formula.

To apply the gems, first add a bit of top coat to your nails. This is how they stick.
Next you take the orange wood stick and wet the tip. You can either use a bit of water, or just dab the stick on your tongue (this is what I did!). With the orange wood stick wet, the gems stick to the tip of it.

Take the gem and place it on your nail. You can move it around a little bit while it's fresh on the nail, but don't move it too much or you'll smudge the polish beneath.

Add the rest of your gemstones and voila! You might have to add a bit of top coat because if it dries out, you can't stick the gems to it. Make sure you seal them in with the top coat after, this will ensure they stay put!

Now to spice up the rest of my fingers, I decided to mimic what I did on my ring finger, but with just polish. I had to add base dots of OPI Alpine Snow so that the colour would pop on the black.

And to finish off I did the rest of the polka dots, added some gems to my other fingers and sealed them all with my favourite top coat!

Gems are very easy to apply to your nails, you don't even need the steadiest hand. So go get some gems and get creative!
Thanks for reading!
Lots of love,
Mackenzie xoxo
No comments:
Post a Comment