Saturday, August 25, 2012

Cats

I've been thinking about doing Cats for awhile now, and the girls who work at Hallmark with me all have a slight cat obsession...

I decided to do 5 different cats. I used OPI Apline Snow, OPI A-Taupe the Space Needle, OPI In My Back Pocket, Xtreme Wear Black Out and Rimmel London Grey scale. I started off by drawing the shapes of cat heads on my nails.


Next I used my Stripe Rite nail arts in Black and white to add little faces on to each cat. I'm not sure why, but the cats on my right had look really drunk... this is why I only posted my left hand. I added pink to the insides of their ears and a tuff of colour on their heads!
 
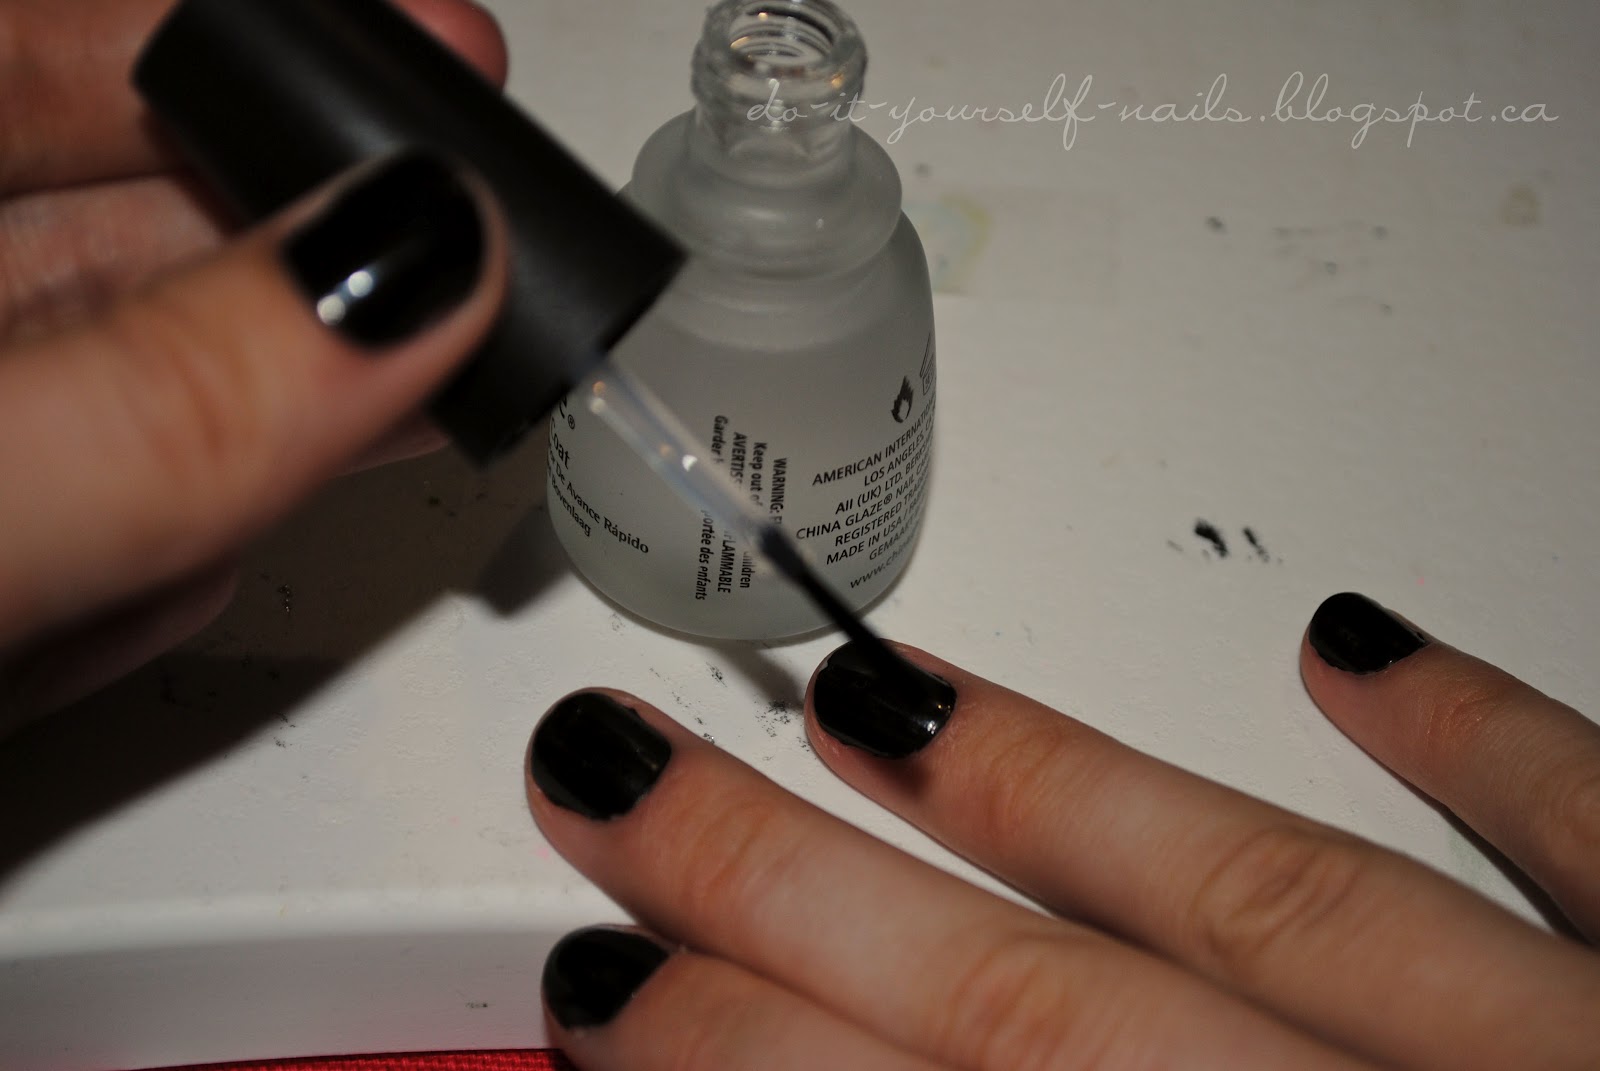
Finish off with your favourite top coat, and voila!

Also this week, I have a guest photo. You may or may not know him, but Rahul Rallan (motocross super star or the biggest weirdo ever) has quite the talent when it comes to doing his nails.


Yup, he's going to make it big.

ALSO one last thing, I'd like to thank you all for helping me hit 10,000 views on my blog! I appreciate all of you so much. Here's to the next 10,000!

Thanks for reading,

Lots of love,
Mackenzie xox

Monday, August 20, 2012

Ombre Attempt #2

I think I've mastered it! I've finally got a pretty good ombre on my nails and I couldn't be happier!

I started off with a base colour of OPI Alpine snow. Then I used China Glaze Purple Panic and China Glaze Shocking Pink.

I used a makeup sponge to apply the polish in an ombre fashion. Painting three lines of colour and then dipping the sponge into it.

I then applied it to my nail. You want to apply it in a back and forth motion to blend the colours together. This will get messy so keep some nail polish remover and q-tips around!


I finished off by cleaning up my fingers and applying my favourite top coat! The top coat really helped blend the colours together.


Voila! Enjoy your ombre nails :)

Thanks for reading!

Lots of Love,
Mackenzie xox

Monday, August 13, 2012

Gemstones

On my trip to Sally Beauty Supply, I decided to buy some gems for my nails. I've seen so many photos of nails with gems and I've wanted them so badly! The pack of gems that I bought was only $15 and definitely worth it.

I started off with a coat of Xtreme Wear Black Out. The black background really helps to make the gems pop.


Next I added the gems. I started with only doing an accent nail. It was my inspiration for the rest of my nails. To add the gems you're going to need a top coat, and an orange wood stick. I find that China Glaze top coat works really well for this because it's a thinner formula.


To apply the gems, first add a bit of top coat to your nails. This is how they stick.


Next you take the orange wood stick and wet the tip. You can either use a bit of water, or just dab the stick on your tongue (this is what I did!). With the orange wood stick wet, the gems stick to the tip of it.


Take the gem and place it on your nail. You can move it around a little bit while it's fresh on the nail, but don't move it too much or you'll smudge the polish beneath.


Add the rest of your gemstones and voila! You might have to add a bit of top coat because if it dries out, you can't stick the gems to it. Make sure you seal them in with the top coat after, this will ensure they stay put!


Now to spice up the rest of my fingers, I decided to mimic what I did on my ring finger, but with just polish. I had to add base dots of OPI Alpine Snow so that the colour would pop on the black.


And to finish off I did the rest of the polka dots, added some gems to my other fingers and sealed them all with my favourite top coat!


Gems are very easy to apply to your nails, you don't even need the steadiest hand. So go get some gems and get creative!

Thanks for reading!

Lots of love,
Mackenzie xoxo

Thursday, August 09, 2012

Paint Drips

I'm back! It was definitely relaxing having the week off to do nothing! One of the major events was teaching the boyfriend how to dive... let's just say he'll be competing in Rio 2016 ;) Here's a photo of his "5 star" belly flo... I mean dive.


But now I'm back, and I have a lot of posts for you! Here's a little post on how to do paint drips! They're really easy and look really cool.

I started off with a plain nail, no colour, just a base coat! You can see my nails got a lot shorter being at the cottage...

For my drips I decided to use Misa Nail Art Gold Rush, and then China Glaze Shocking Pink  as an accent nail. To make the pink stand out more, I put a base colour of Stripe Rite White. To get the drippy look I first outlined the drip, and then coloured it in.


I then added Misa Nail Art Viva Las Vegas to make the gold look 3D, as if it's actually flowing down my finger nail, and I added the pink, with little white lines to make it look 3D as well. The pink looks more cartoon like.


Finsh off with your favourite top coat of course, and voila! Your nails will look like you just dipped them in paint.

Thanks for reading!

Lots of love,
Mackenzie xox