OPI The "It" Colour/China Glaze Sun Worshiper
OPI In my Back Pocket/OPI Big Apple Red
Essie Mezmerised/OPI Fly
OPI Gargantuan Green Grape/Sinful Colours Rise and Shine
Essie Lilacism/Gosh Wild Lilac
To start, I put the base colour (the first colour in each pairing) on my entire nail. This helps with the ombre.

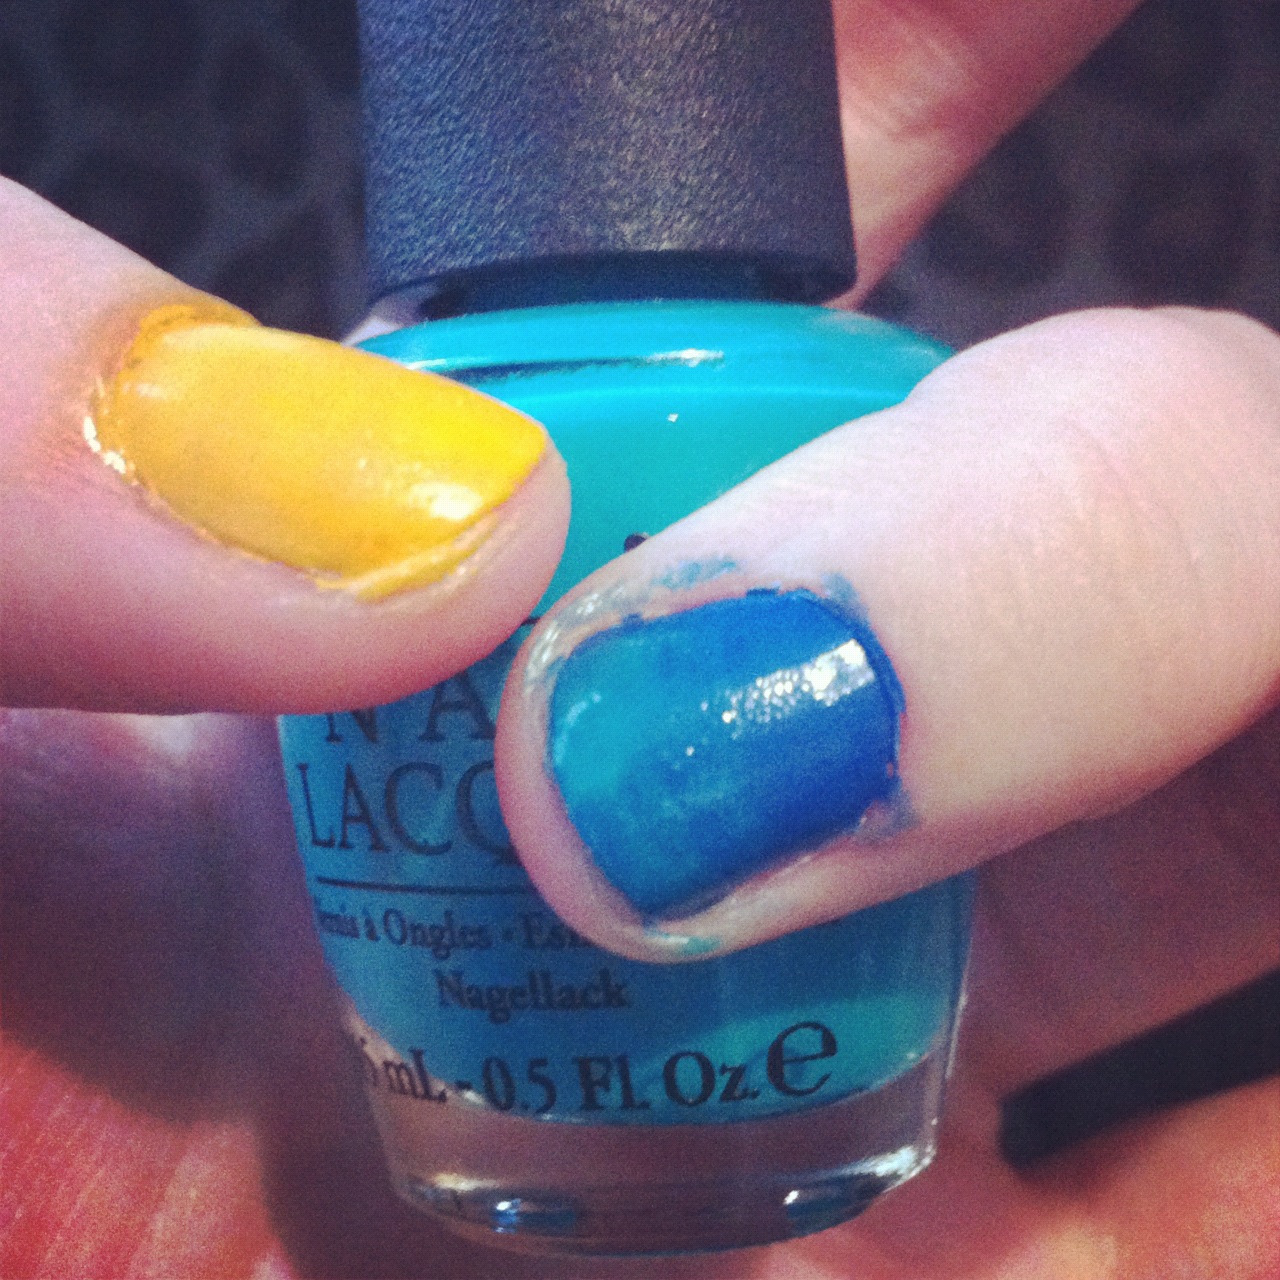
I'll demonstrate with the blue nail to show you guys how I did the ombre. I figured I should start with this nail because the colours were the most similar. I took a make up sponge and dipped it in a tiny, tiny bit of OPI fly. Then I dabbed it on lightly from the middle of the nail to the tip. *** You want to make sure your nails are completely dry for this because if not, they sponge will take off all the colour! *** I continued dipping and dabbing until the colour faded up to the tip of the nail.
I continued with this technique on all my nails. This is the first time I've done colour ombre so they look a little crazy!

Because this was my first time, I decided to hide a little bit of the mess with zebra stripes!

And there you have it! Finish off with your favourite top coat, do a bit of damage control around the outside of your nails and voila! You've got your ombre nails!
Lots of love,
Mackenzie xox
No comments:
Post a Comment